Logo Tips

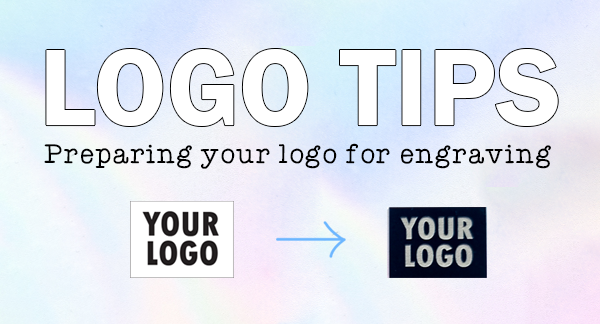
When engraving onto our products we need your logo in a certain format & quality.
Below are some images for you to consider when preparing your logo to upload so that you get the best resulting outcome when we engrave it.
Below are some images for you to consider when preparing your logo to upload so that you get the best resulting outcome when we engrave it.
We offer a Logo Conversion service here if your logo does not meet the below criteria.
- The logo you upload must be pure Black & White (no greys or colour). The laser will engrave everything that is black, and leave the white untouched/raised.
- Files: We accept .png, .svg, .ai, .psd & .pdf file formats. Ideally these should be vectorized formats (created in Adobe Illustrator, Corel Draw or similar).
- Logo Engraving Size: Every logo is a different shape & each product has different space to work with. We commit to balancing & highlighting the logo while providing room for your earrings to sit.
- Which Display to pick? We recommend our "Logo Height" displays vs "Standard" earring displays when choosing to add your logo. We have built extra room into the top of these displays. However if you primarily use Hooks or Ball Posts & don't want extra space above your earrings Standard can be a great choice if you .
- Turnaround: As we make every acrylic item to order, there may be an additional 1-2 days processing time required.

Thickness Matters
On Logo on the Top Left is a standard font weight. It does not translate well to engraving.
The Logo on the Bottom Left logo is with additional weight added to the outline making a much better result.
The Logo on the Bottom Left logo is with additional weight added to the outline making a much better result.

Black Outline vs Black Filled in
The images on the left are the Logo files vs the Black & Clear engraved acrylics . These are all engraved nice and small (2cm across).
Overall the filled in option always looks best but thick outlines can yield a great result if that is the style of your logo.
Overall the filled in option always looks best but thick outlines can yield a great result if that is the style of your logo.

Simple vs Complex images
As with the thick vs thin, simple bold imagery is much more effective.
Fine lines & images may not come out as intended once minimised & etched.
Fine lines & images may not come out as intended once minimised & etched.

Simple images & Small text
A simple, well lined image will come out effectively, add stroke or thickness where you can. Small text can be very effective if bold enough.

Paint Filling
Your pieces will come with their protective layer still on. Before peeling you may want to paint fill. Use POSCA pens or Acrylic paint to infill the engraving. Ensure this is completely dry (leave 1hr plus) before peeling for best result.
We recommend selecting a Shiny Acrylic for paint fill. The protective paper does not always seal well to the acrylic and may/likely result in unclean edges/lots of tidy up.

